Matilda Leggings from Spit Up and Stillettos

I’m pretty sure I mentioned earlier in a post about my Core Wardrobe that I would never wear leggings. I loath that people wear them as pants and I did leggings (stirrup pants back then) in middle school so…

Tonic 2 Tee hack by mahlicadesigns

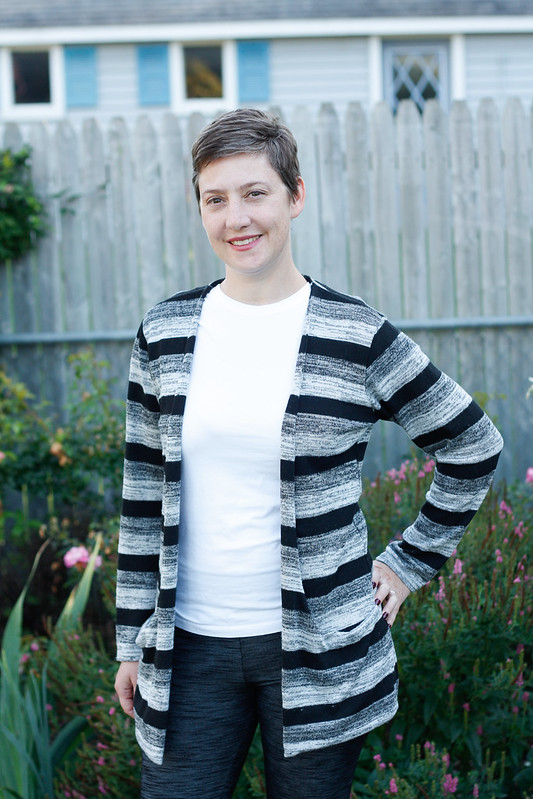
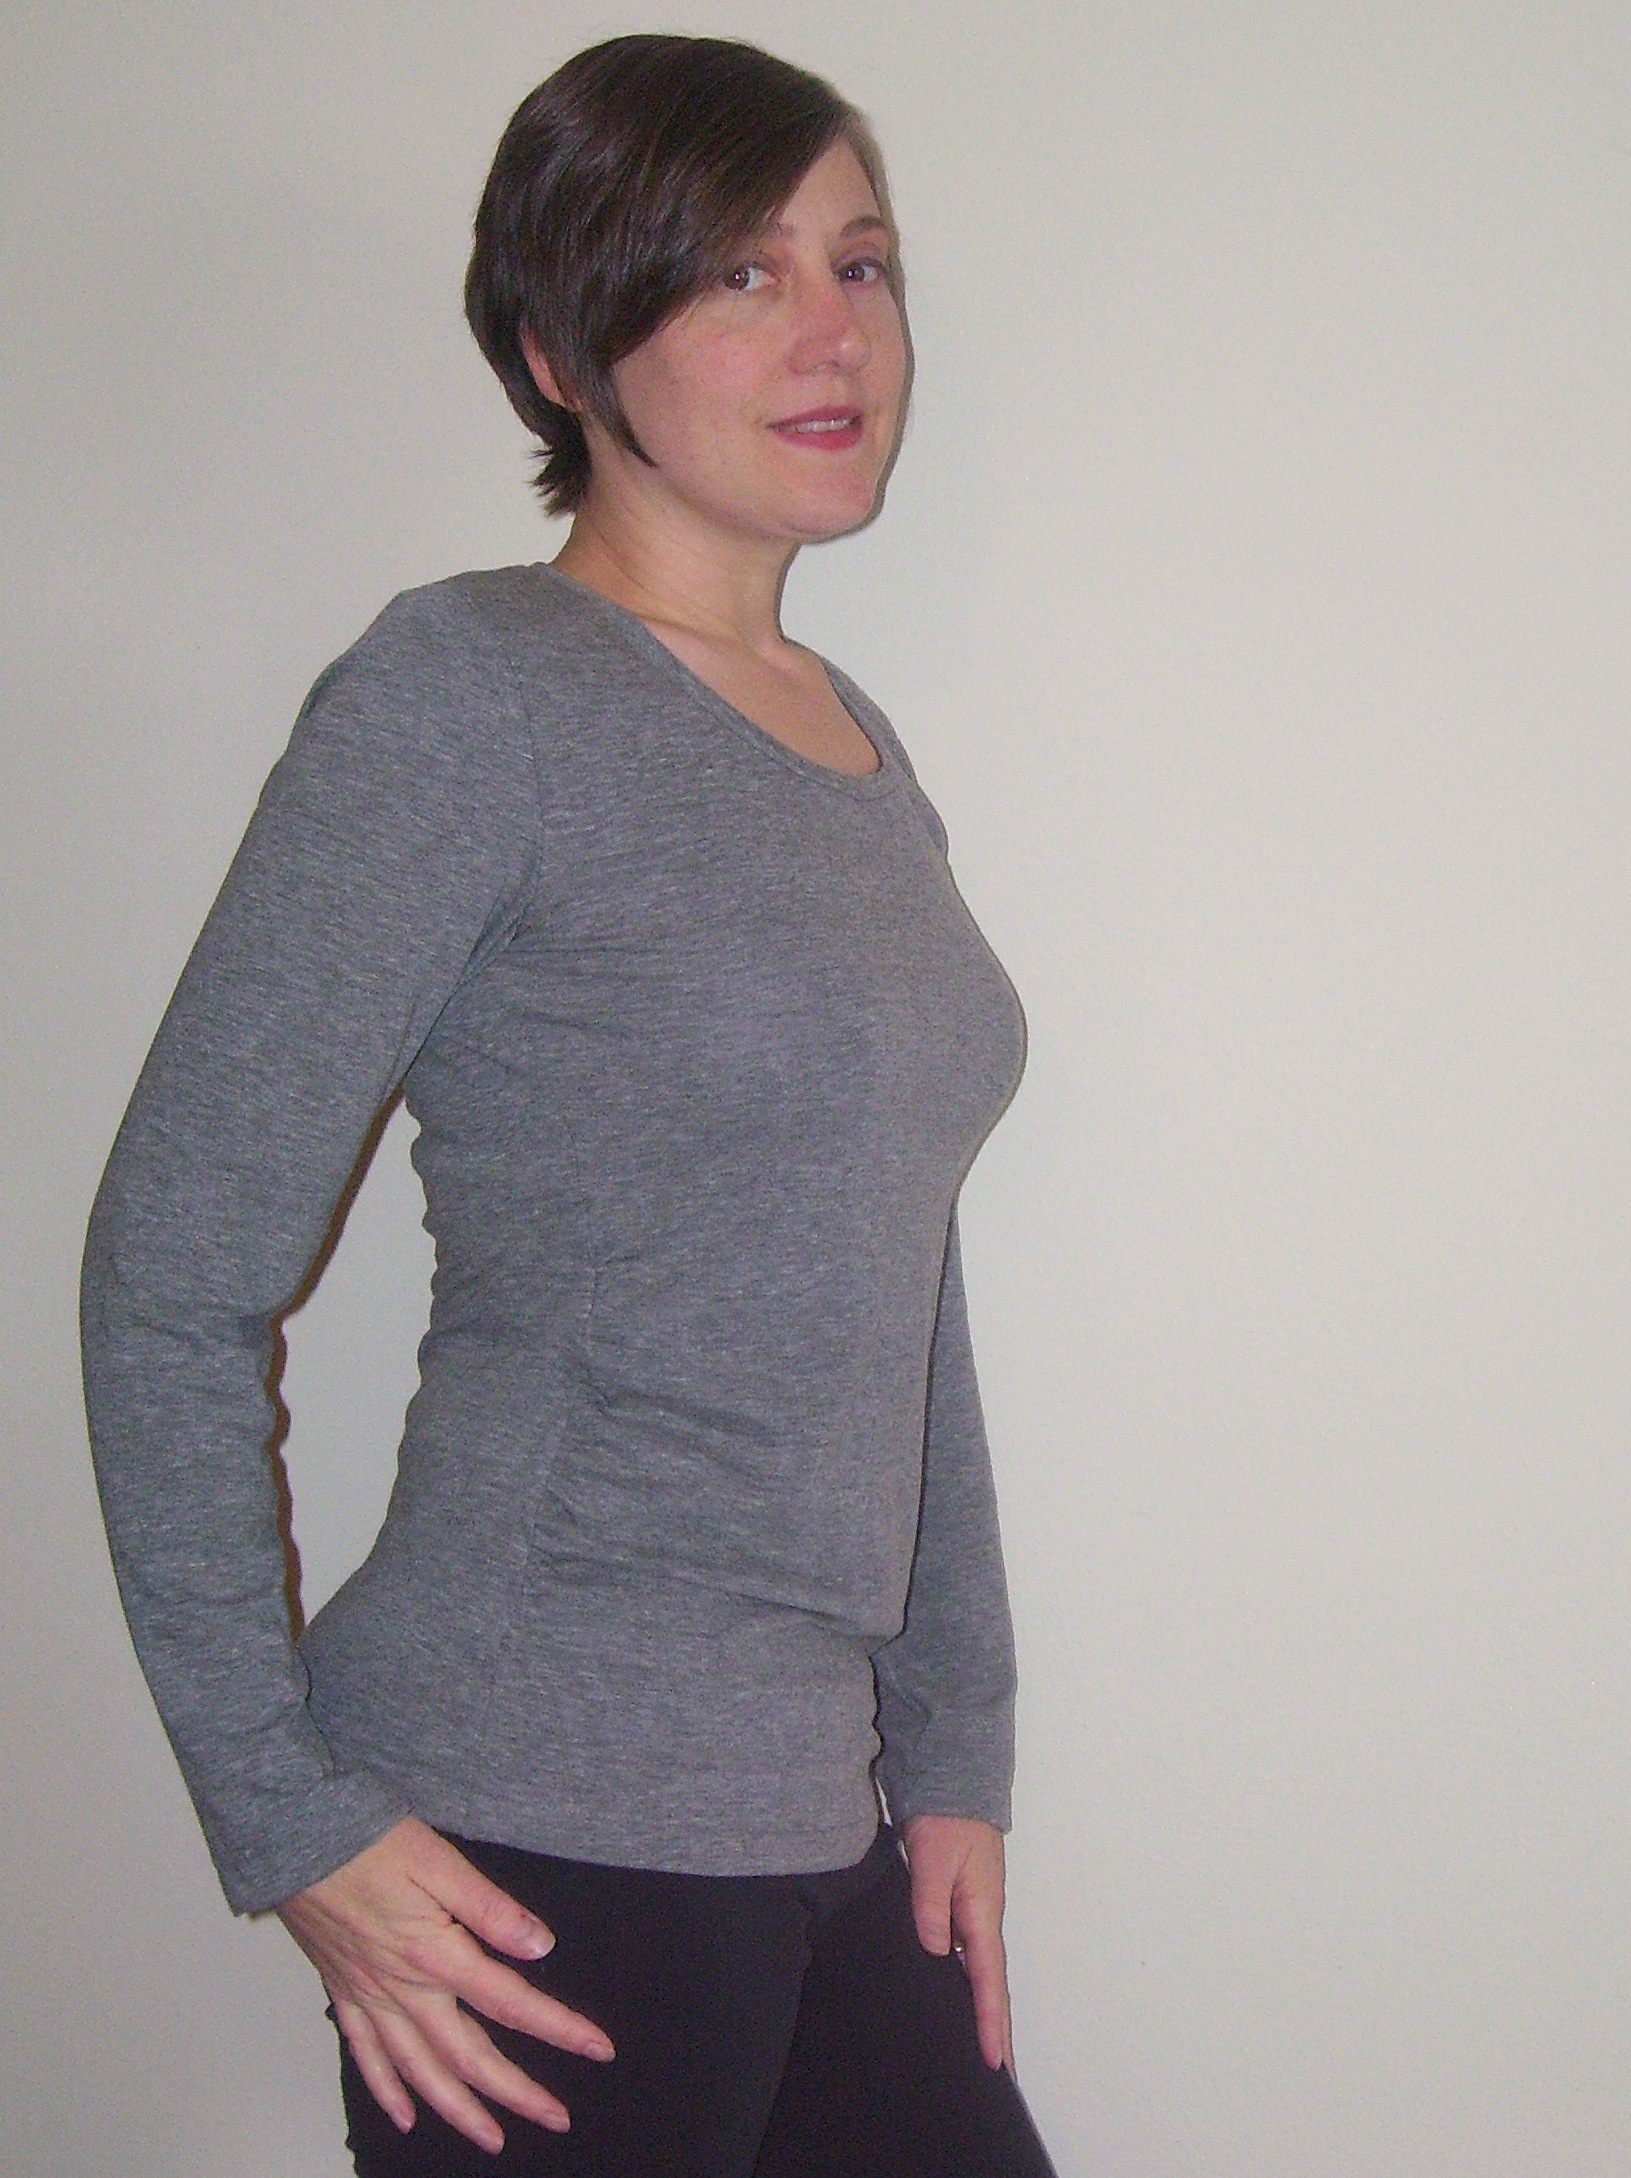
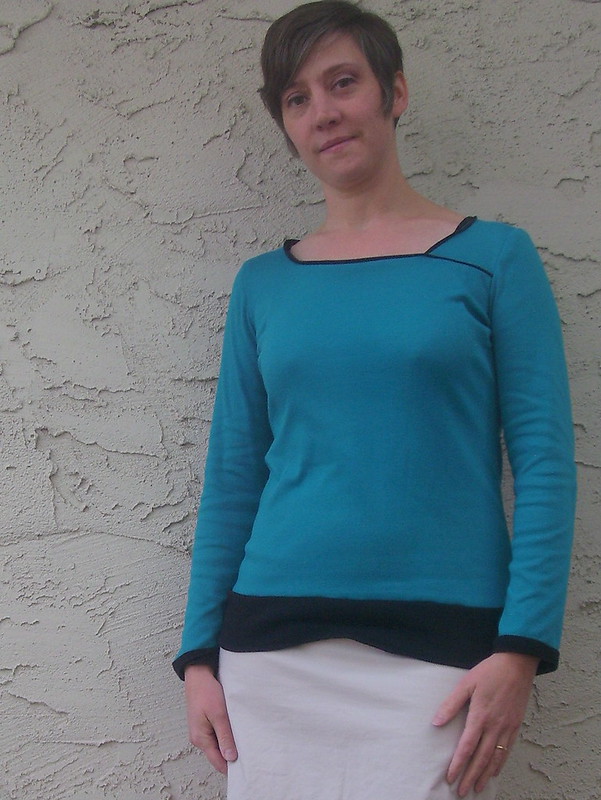
So here are some leggings I made. Yup, never say never. In September, I joined in a challenge from the facebook group, Sew Alongs & Contests to sew four coordinates. For the challenge I made the Matilda leggings, a skirt, the color blocked Tonic 2 Tee you see above, and a self drafted wristlet. (Watch future posts for details)

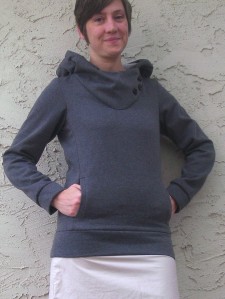
The leggings were made to wear under skirts, but are already in heavy rotation around the house as a slightly less frumpy option then wearing my pjs past 10am. (Ah, the problems of a stay at home mom)

Matilda legging by mahlicadesigns

Just a few thoughts on the Matilda Leggings pattern:

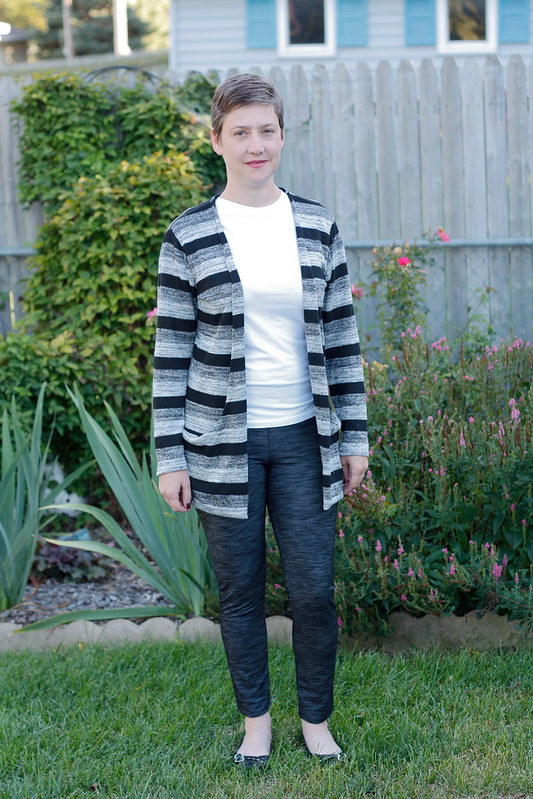
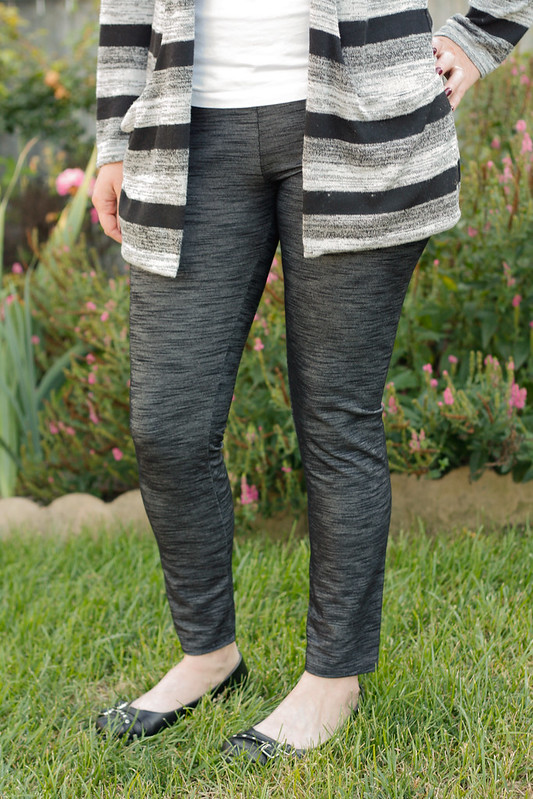
This pattern is seriously short in the rise. Without the 3in waistband you’d be a little indecent. I added 1in to the front and back rise and will add another 1/2in to the back rise next time.

Matilda leggings by mahlicadesigns

I made a straight medium according to my measurements, but am feeling a little like a sausage around the rear end, so a little adjustment is needed there. There’s also a little extra room around the calves to slim down.

Matilda legging by mahlicadesigns

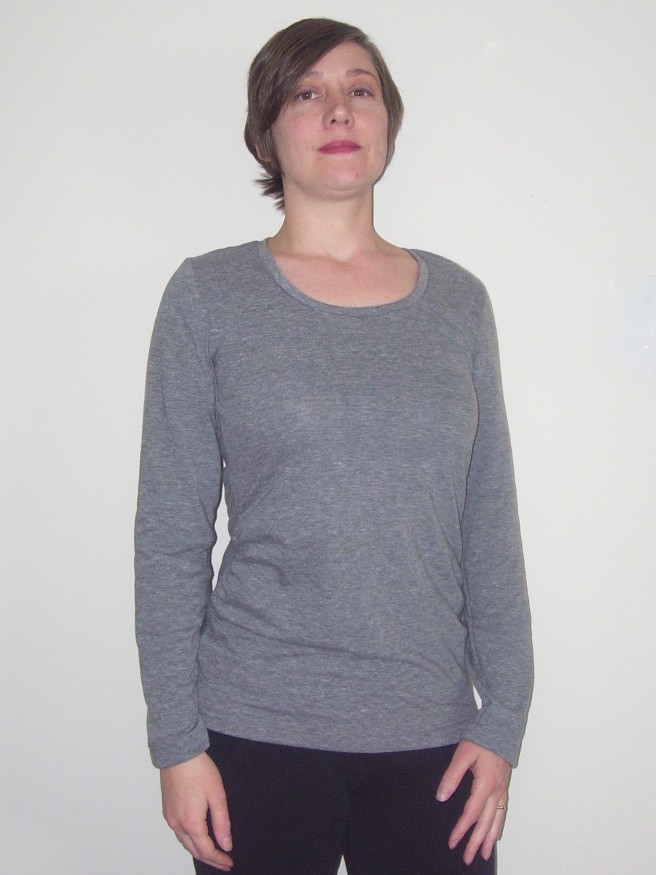
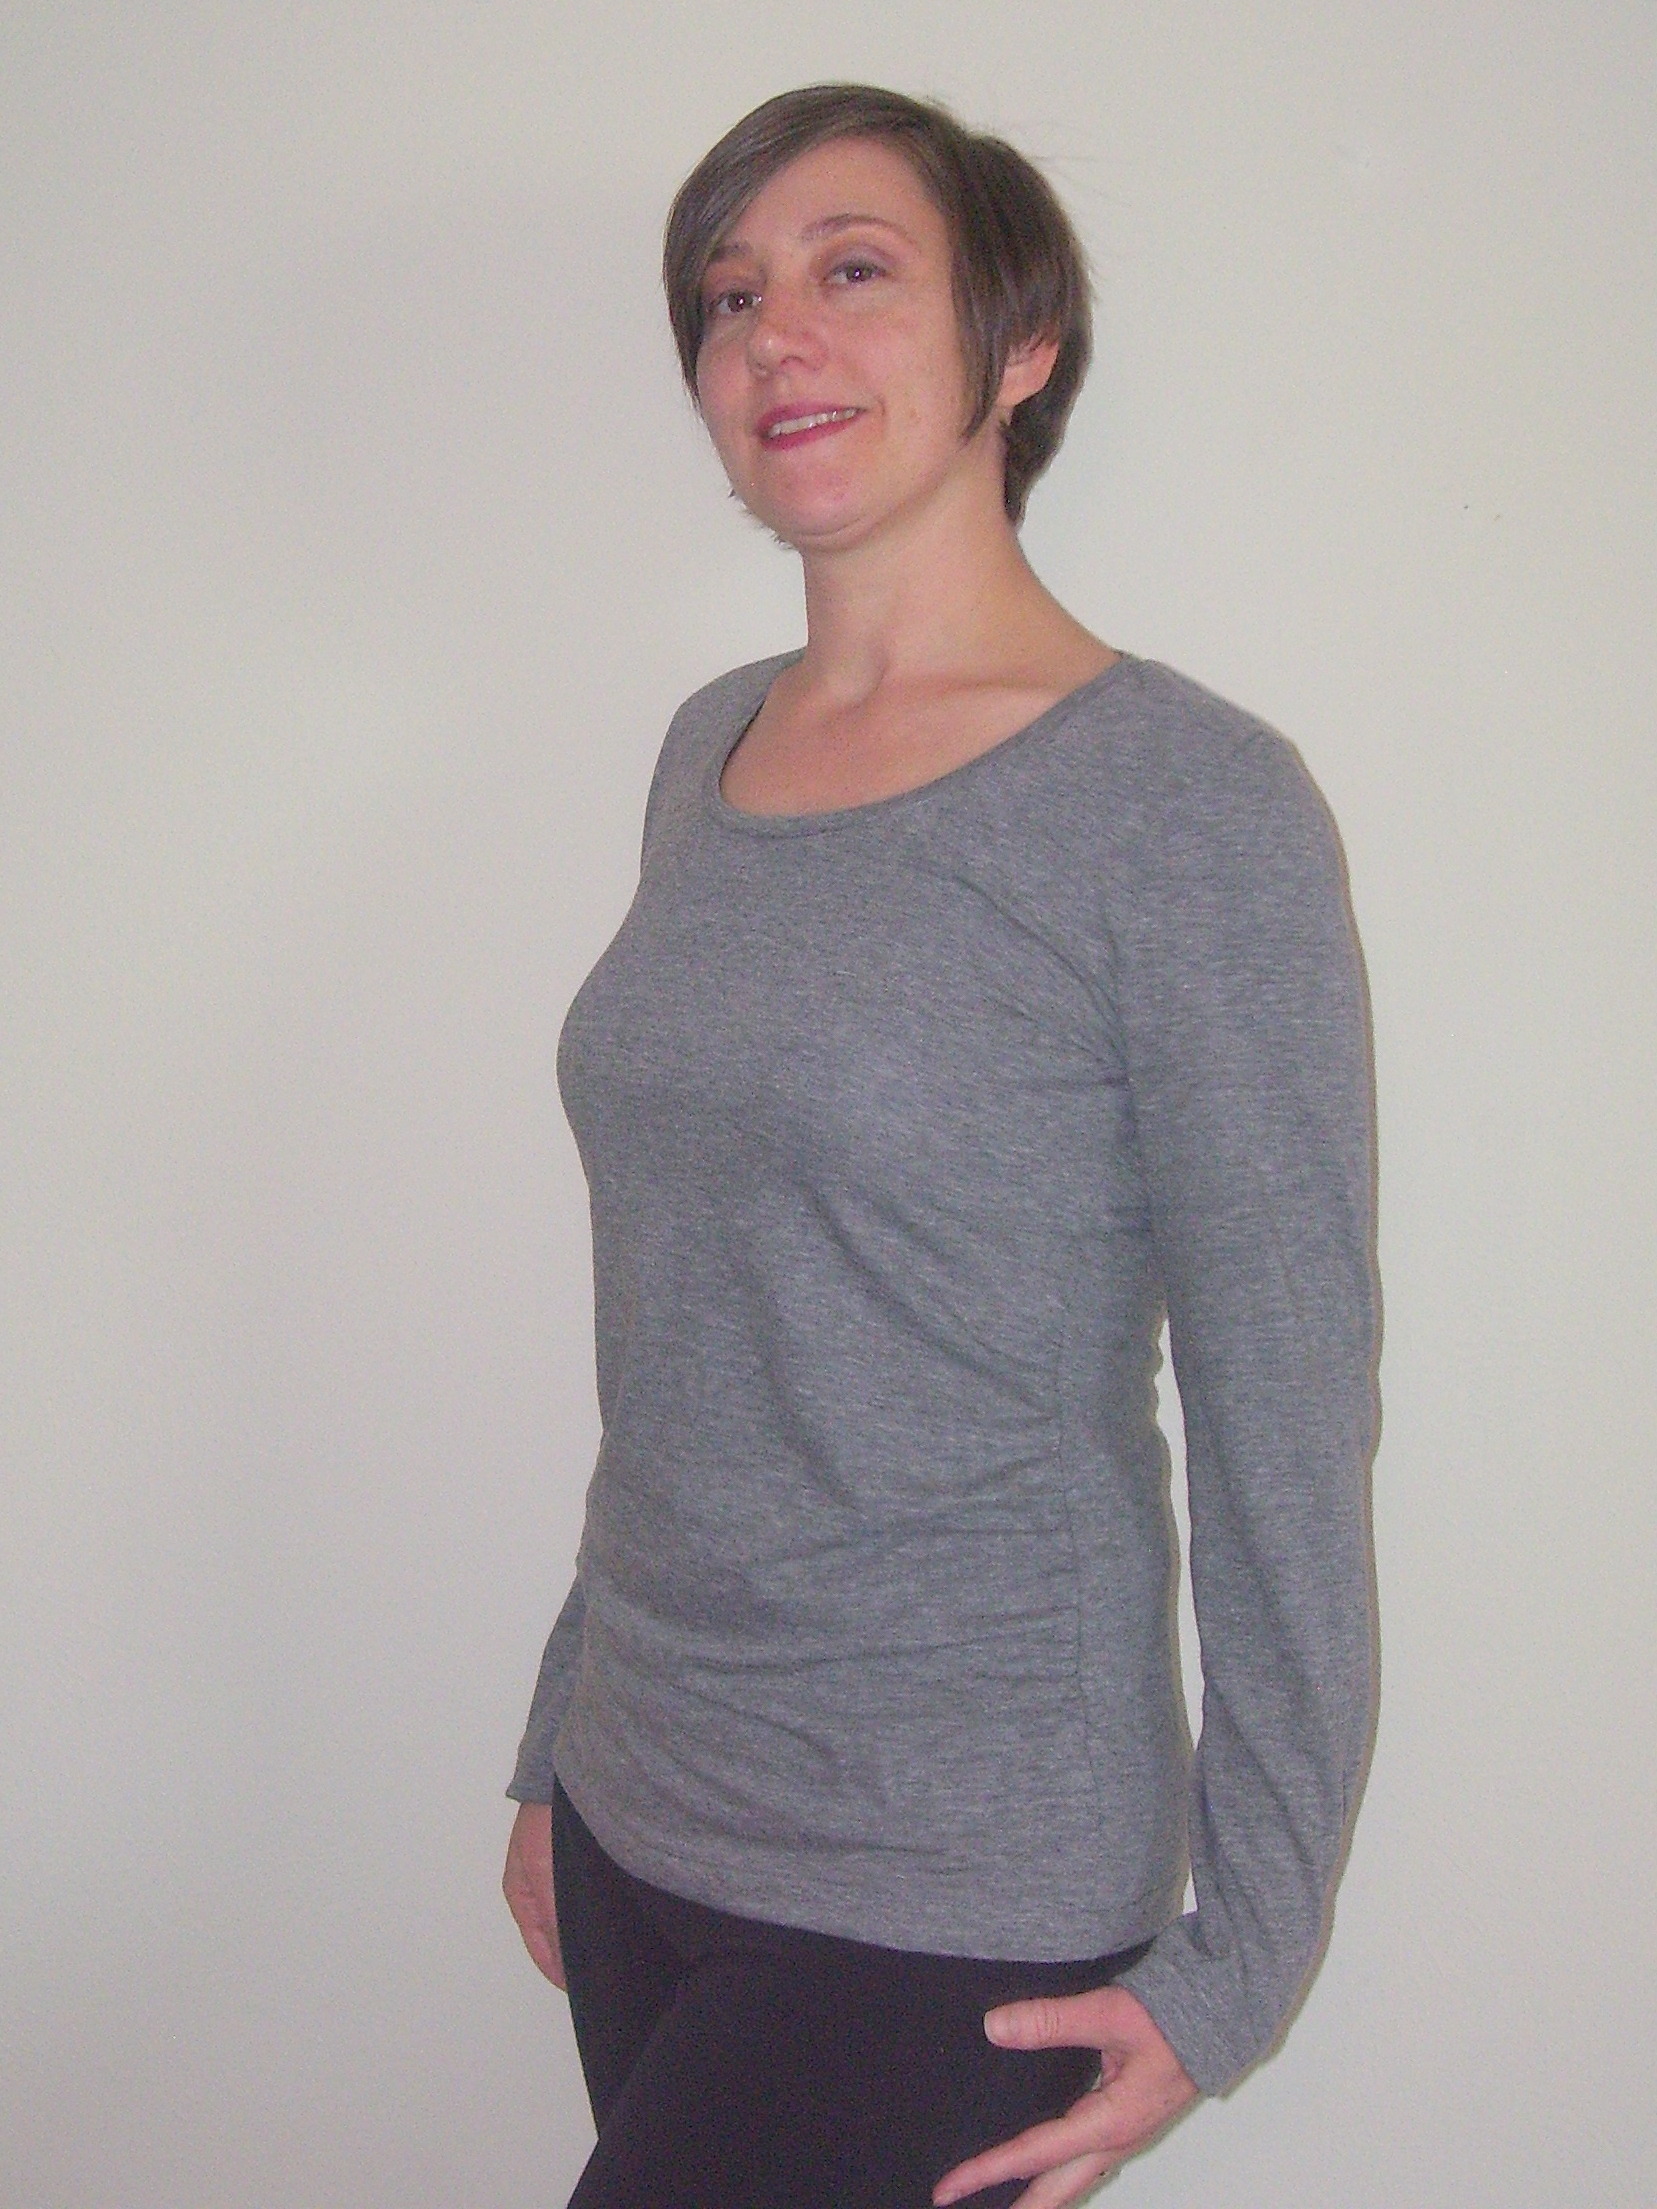
Caption: Earlier photo shoot with longer hair

If you are tall you’ll need to add some length to the legs also. I’m 5’4 and the length is perfect for me. I measured the inseam at about 27in.

matildas closeup 2

I picked up 1.5yd of this fabric from the red tag shelves of Joann Fabrics. (Of course I can’t find it online to link you) The right side is a grayish blue with a faded denim look. I used the wrong side, as it was so much cooler and in my Core color palette. I’d say it’s a medium weight knit with good stretch.

Matilda leggings close ip

Caption: I thought I set the..

These went together so quickly I was a little stunned. How often do you get a project done, cut to finish, in one hour? Bonus: At my height, I only used half of my yardage, so plenty left to make the Tonic 2 Tee (to be blogged later) and more.

The Matilda Leggings should take you one hour to complete.

Fabric $8   Pattern $Free    Total Cost: $8

Jalie Drop Pocket Cardigan for Core Wardrobe building

Holi-Daze week for my Sew Long Summer sew along was a bit of a challenge sewing wise. I was hoping to make a big batch of tees or undies, but it just didn’t happen. Weekends are not where I get my sewing time, so I just barely finished the Jalie cardigan I was working on to show off with my sewing tips post.

Drop Pocket Cardigan 1

I’ve had the Jalie Drop Pocket Cardigan on my list since I saw Jamie’s last December. I’ve also been seeing Hacci knits around and wondered what they are like to sew and if using one would give me a warmer cardigan. The jury is still out on the warmth; it’s not quite cardigan weather yet. I purchased my Hacci sweater knit from Girl Charlee during their July 4 sale.

Drop Pocket Cardigan by mahlicadesigns

A little about the pattern. Jalie patterns come on a large sheet for you to trace off and include a huge range of sizes. The seam allowance on this one was pretty narrow at 1/4inch. Since I was using my serger I was ok with it, but otherwise I would recommend you think about adding more of a seam allowance as you trace. The pattern is put together to enclose as many seams as possible, because of this there were points in the instructions that I definitely would have been lost without the diagrams, so have both handy.

The pattern is a fabric hog, needing four of the front pieces shaped like a big “L” so the pocket part folds over the front. With stripe matching and my best pattern Tetris skills, I got a size U for 36in bust out of 2.25 yards (60in wide).

Drop Pocket Cardigan by mahlicadesigns

Hot Tip: Check your length before you cut. The pocket does not allow for much to be just cropped off the bottom if you forget.

Working with the Hacci sweater knit was very similar to working with a jersey knit; a little rolling at the edges but no fraying. I had some trouble getting the tension adjusted on my Janome 4618LE sewing machine to handle the stretch of the Hacci, but had no problem using my serger for the majority of the construction. I would think twice if I only had my machine to use.

Jalie’s Drop Pocket Cardigan should take you about 3.5 hours cut to finish.

Fabric $9      Pattern $ free     Total $9

Rose Tshirt from Blank Slate Patterns; pattern review

Theres nothing like purple to make me happy and to help break out of the basic colors I’ve been using to build my Core Wardrobe. The first of much more color to come for Spring and Summer, is my version of the Rose Tshirt from Blank Slate Patterns.

Rose Tshirt mahlicadesigns
Body is more of a plum color like the accent pieces


Likes:

  • The gathering at the front adds some nice ease through the body without making it baggy and I did not need to size up at the hips like usual.
  • Great pattern for a little stash busting of those quilting cottons I haven’t touched in a while.
  • The contrast options at the neckline draw the eye up and away from the tummy and hips.
  • I like inserting sleeves flat.
  • Theres a full facing on the front to cover up all those seams.
  • The pattern can easily be made into a dress with just a little grading for the hip/thigh. (The pattern has been re-released to include a dress option)

Rose Tshirt mahlicadesigns

Criticisms:

  • The seams at the front of the arm scythe are pretty bulky with three layers there. I’d recommend using a lighter weight fabric for the front facing to reduce the bulk.
  • The arm scythe at the front curves in toward the center front a bit and causes some pulling. I’m not going to spend time to adjust the pattern as I’m only planning to use this pattern again for a sleeveless version.
  • I determined that the triangle shape marking on pattern piece#6 needs to be moved by 1in down toward the center front to make the two front pieces #6 and #5  line up correctly. I purchased my pattern from a store, perhaps the PDF versions in the Blank Slate Patterns webstore have been corrected.

    Corrected marking in Red
    Corrected marking in Red

Rose Tshirt mahlicadesigns

Suggestions:

  • Go down a size if you’re between sizes. I’m a 35.5in bust and the small sized for up to a 35in bust has enough ease for me.
  • Understitch the facing around the neckline to prevent rolling, before top-stitching the front facing below the front yoke.
  • Use a lighter weight fabric for the front facing if possible, this will decrease bulk at the arm seams. Alternately, grade the seam allowances if you’re not using a serger.
  • Check your pattern pieces.
  • Lay out your front yoke pieces as demonstrated in the instructions to help keep track of what goes where.
  • I use stay tape at my shoulder seams when sewing with knits.

The Rose Tshirt takes about 3.25 hours to complete.

Ann T Top from Style Arc; Core Wardrobe part 4

SewYourPatternStashSq213

Today I’m working on building my Core Wardrobe and participating in Sew Your Pattern Stash 2015. I’m hoping to work through more of my unused patterns this year.

100_3786

The Ann T Top pattern is from Style Arc. Their size chart suggested I should make a size 10, but after flat measuring the pattern I used an 8 instead and a 3/8in seam allowance instead of the 1/4in allotted. I was drawn to this pattern because of the draping across the tummy area, while still appearing to be a fitted tee.

100_3788

The pattern instructions would be too sparse if you’re a novice, for example there is no instruction on how to use the clear elastic to create the gathers on the front or how to insert a neck binding. If you’ve sewn knit tees before, there is nothing here to challenge you, other than using the clear elastic to make the gathers.

100_3787

Perhaps the fabric I used, a rayon jersey knit, affected the draping, perhaps I need to go down a size through the waist and arms, but I found the overall fit still needs some work for me. I was wanting more draped folds across the tummy, instead it just bags out a little and the arms are too baggy, but these fit problems are easy fixes. I  think I’ll adjust the arm width and remove the front gathers to make this a TNT pattern.100_3793

This project took 2.75 hours.

This is the last fall/winter Core Wardrobe piece for now. I’m turning my focus to spring/summer in hopes that I can get a few items done to wear when the warmth returns.

And, so I can feel a sense of accomplishment here’s what I made for my fall/winter Core Wardrobe:

I’m counting the Kirsten Kimono Tee as a head start on my spring/summer Core.

Kirsten Kimono Tee
Kirsten Kimono Tee

I’m feeling the itch to take a break from making the basics I need and these basic colors. I have a couple projects lined up that I think will lift my spirits with some color.

Kirsten Kimono Tee by Maria Denmark Core Wardrobe part 2

Back to building my core wardrobe, for now anyway. I’m at a bit of a block trying to figure out what to make while trying to find the right fabrics for the few things I do have figured out.

Today’s tee is using the Kirsten Kimono Tee pattern from Maria Denmark. The pattern is free when you sign up for her newsletter.

mahlicadesigns

I just loved this subtly printed knit when I saw it at Joanns (can you see the foil chevrons?) and bought 1.5yrds without a specific plan other than to use it for a Core Wardrobe piece. It’s a light weight knit, so I opted for a short sleeve tee for the summer months and chose the Kirsten Kimono pattern to keep trying new designers and silhouettes. The fabric is very transparent so be prepared to wear a camisole underneath if you get this same color.

100_3720

The only draw back to the pattern was having to add a seam allowance to the pattern pieces. Kind of a pain. I didn’t look at the pattern directions, so I can’t give a review of those but I do think this is a great fit and style, well worth making. I would make this again with a small adjustment to make the hip a bit wider for me. This may become a Go To pattern for me, I hate shirts being tight under my arms and the kimono sleeve is just right for me.

The pattern calls for less than 1yd of fabric, so at 60in wide and 1.5yrds I had enough fabric to make two size smalls. If your fabric shrinks more than mine (only 2in in length) you might not have this luck. Now to figure out who gets the second small my etsy shop or a Christmas gift.

100_3722

Hmm, I’m wondering if I need to start doing a sway back adjustment?

This project took 3.75 hours for the two tees.

Teal & Black Tee

As far as sewing for myself goes, I took a little break from Core Wardrobe pieces to work up an idea I had for a modified version of the Tonic 2 Tee by SBCC.

100_3703.2

I really like asymmetry in clothing, so I modified the neckline a bit to make it interesting. I used a bit of the left over black knit from my original Tonic 2 Tee as the neckline trim, waistband, and cuff bands.

100_3698

I removed 3 inches from the lower bodice and added a 3in band in the contrasting fabric. From the sleeves I removed 1in in length and added back a 1in band. I measured my new neckline length and subtracted 15% to get my new neckline trim piece. That math worked well. Next time I’ll make the neckline trim a little wider and make the shape of the neckline opening a little more like a crew.

I’m pretty pleased with the result. This go around I made the small and the fit is so much better. Other than the narrow neckline band, it really came out pretty close to what I was imagining.

SBCC Tonic 2 Tee Core Wardrobe part 1

My first foray into building my core wardrobe is a long sleeve tee using the SBCC Tonic 2 Tee pattern.

I can only think of two items that I’ve done using a knit and one of those was a complete nightmare. This time I’m going in ready for success powered by sewing blogs.

Melly Sews suggests using the lightning aka wobble aka stretch stitch on knits so the seams can maintain the fabrics stretchable quality. Lladybird uses a walking foot so both layers of your knit feed through evenly. The Tiramisu Circus has a nice post on stabilizers for knits.

First off let’s talk about the pattern. It was free so that’s great. Instructions are super easy, though I modified the neckline procedure. The instructions have you apply the neckline trim while one shoulder seam is still open, then tacking down the trim after the shoulder seam is closed. That seamed sloppier than I want, so I did it the old-fashioned way of inserting the circle of trim into the closed neckline. Even if you follow her instructions your left to guess how much to stretch your trim so it will lay flat instead of gaping. A little guidance there would be nice. I had a little gaping that I had to press the heck out of, but it practically disappeared after washing. I like that the pattern calls for self fabric for the neckline trim.

My first seams, the shoulder seams, incorporated all three of my knit fabric firsts; walking foot, stay tape, and lightning stitch. Other than the fabric getting munched on the first couple stitches almost every time, things were working to plan. When I attached the neckline trim though, I found that the stitch length was so short that it was going to take forever to get this sewn. I did a few tests to try to figure out the problem and didn’t have my aha moment until I was half way through attaching the first sleeve.

My solution? Sulky Solvy original water soluble stabilizer that I bought forever ago thinking I’d make one of those lacy thread scarves. So glad I didn’t cause I stopped thinking those were cool after five minutes.  I started laying down strips of this stuff on top of my fabric and it helped my walking foot get enough grab on the top layer to move things through and give me the stitch length I was expecting. Wrapping a bit of this stuff around the beginning of my seams also helped with the afore-mentioned munching.

So here’s the results.

Tonic 2 Tee

I chose to make a medium since I was between sizes and I’m sick of tees that are too tight under the arms. Next time I’d definitely go with the small as I have plenty of room here. I took off 1.5in from the bottom before hemming and this tee is still on the longer side. Overall I’m not displeased with the tee but not terribly excited either. I’m holding judgement until I make this again in a smaller size and can make a couple of adjustments. I think I’d like a smaller neck opening and I’d like to figure out how to pinch out those folds between bust and underarms.

100_3652

Tonic 2 Tee backview

This project took a surprising 3.75 hours. Using the walking foot and fiddling with the stabilizer is just slow going, but worth it to get those seams to play nice.

So I’m wondering if its worth all the time and effort to make something so basic. Would it be better to keep looking for RTW tees that fit? But that would mean clothes shopping.