Hi there. I hope you are happy and healthy.
{mahlica’s note: Hey, if you are not seeing photos, please try clicking through to the post (click the post title) instead of reading on my home page. Bear with me as I figure out this glitch}
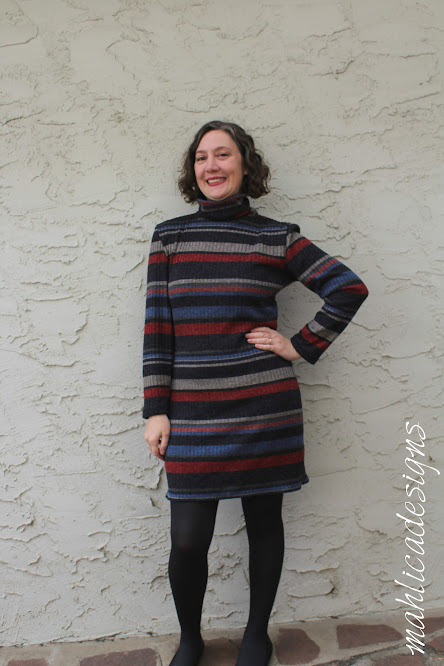
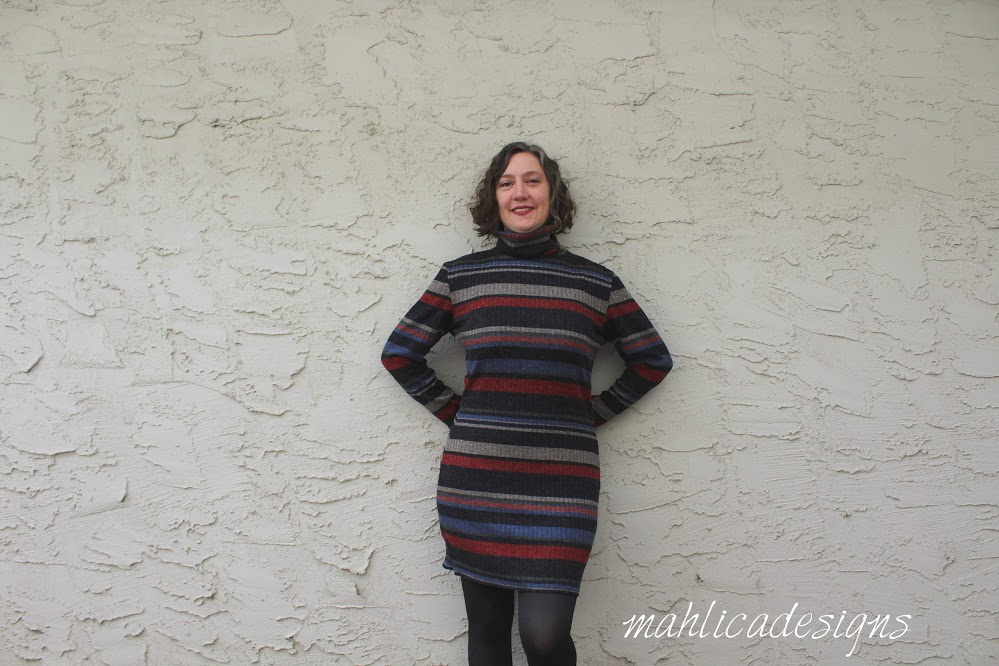
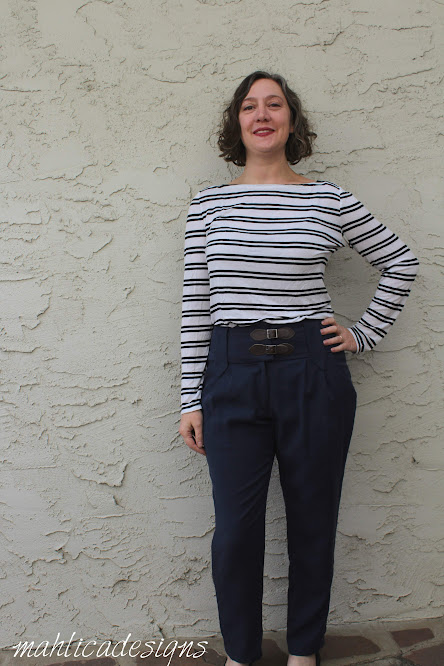
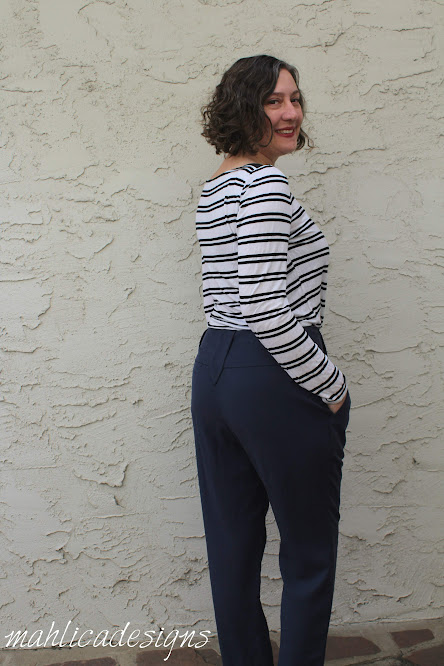
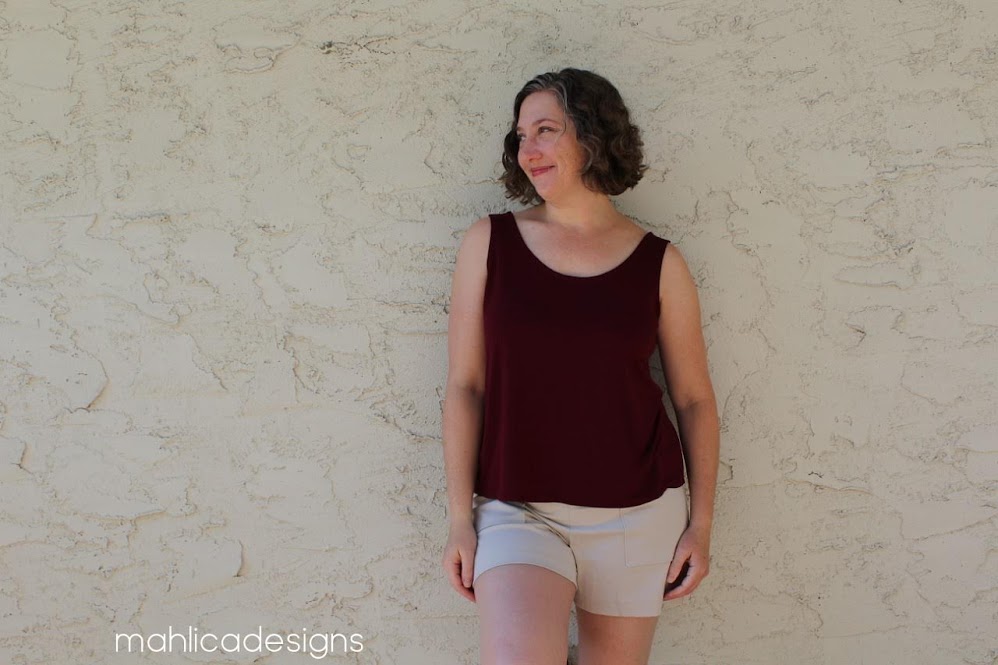
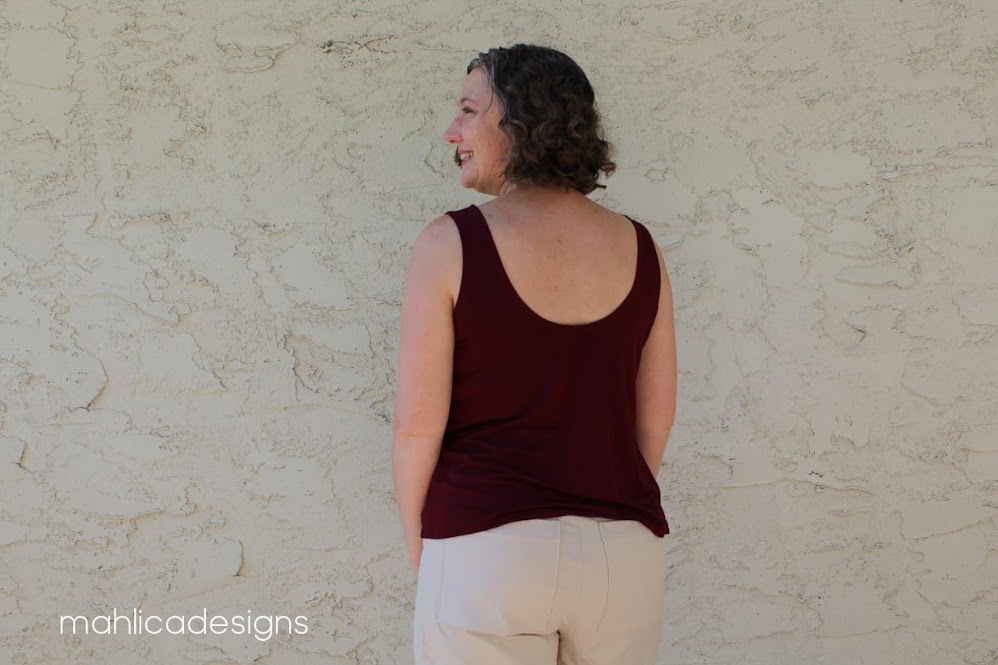
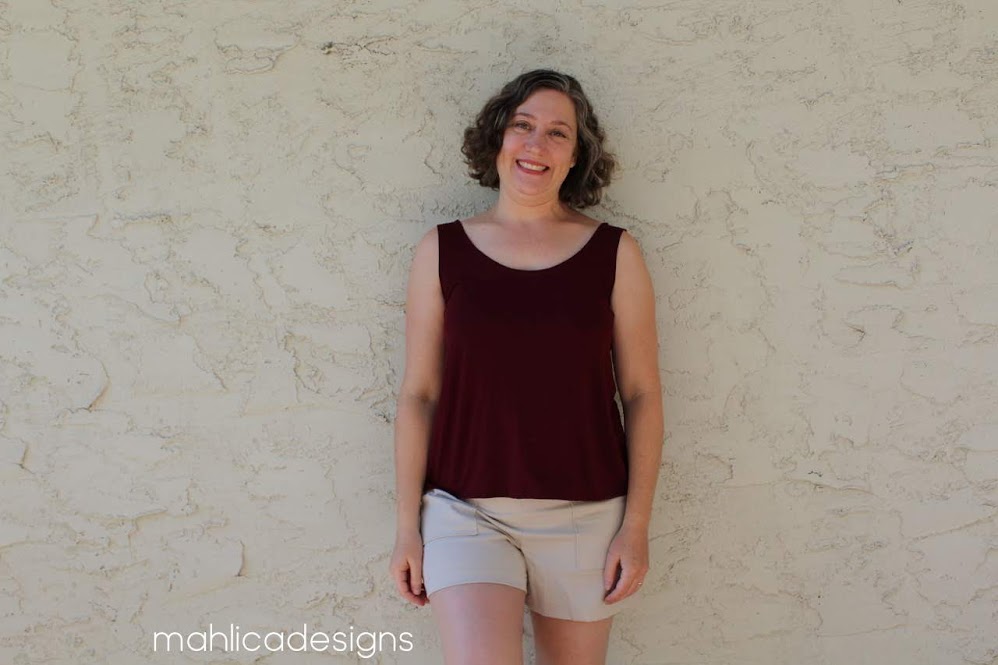
Last week I made up a pattern mashup using the Toaster Sweater and Tabor V-Neck patterns from Sew House Seven. My goal was to recreate a GAP tee from my “Stripes” pinterest board. I think I got there with the design lines, but with the irregularly striped fabric I used from my stash, I’d give myself a 9 out of 10 based on not having the stripes matched up on the raglan seam.


Here’s how I did it.
Supplies needed:
Toaster Sweater Version 1 and Tabor V-Neck patterns assembled and cut to your size, tracing paper, 3 different colored pencils/pens, fabric, and basic sewing supplies.
Alter the Toaster’s front bodice.
Fold the Toaster sleeve piece in half lengthwise lining up the underarm seams. Mark your fold for several inches at the upper edge of the sleeve pattern to denote the shoulder line.
Trace off the Toaster front bodice. Leaving about 8in of paper below the bottom cut line and 10in above the top of the neckline. (Set aside for a minute.)
Line up the front bodice and sleeve pattern pieces along the raglan seam. Overlap the pieces by 5/8in to remove the seam allowance and temporarily tape the pieces together. They need to line up along the upper part of the seam near the neckline. They won’t line up further down the seam.
Reposition your tracing over the front bodice/sleeve. Using a contrasting colored pencil (orange), trace along the extended neckline and upper edges of the sleeve. Mark the shoulder line for several inches. These traced lines will be your points of reference for future steps.

To draw the v-neck line, place the Tabor front bodice piece on top of your tracing. Line up the Tabor with the Toaster’s shoulder and make sure the Center Front fold lines are parallel. Trace along the Tabor’s v-neck line. (Keep your pattern pieces under the tracing paper for future steps)


Lengthen the Toaster bodice to eliminate the bottom band. I added 6.5in below the original cut line and extended the side seam down. You may need more length depending on your height. I’m 5’4″. Keep in mind that the Toaster is a semi cropped style, so if you need room at the hips, you’ll want to curve that side seam, instead of extending it straight down.

Alter the Toaster’s back bodice.
You can trace off the Toaster back bodice piece leaving extra paper above the neckline or simply tape on a scrap piece of tracing paper like I did. Overlap the Toaster back bodice and back portion of the sleeve along the seam allowance. Like the process for the front, you’ll be able to overlap the seam allowances close to the neck line, but they won’t match up along the lower portions. Using a contrasting colored pencil (blue), trace around the upper portion of the back bodice to create reference lines. Set the back bodice aside for a minute. Extend the Center Back fold line up, then free hand or use a curved ruler to draw in a new, higher neck line that matches up with the curve on the sleeve (Gray lines in the pic below). Tape on a scrap of tracing paper and trace over the new neckline curve you created. Lastly, add length to the back bodice piece just as you did the front.


Alter the Toaster’s sleeve.
No need to trace off a new sleeve. Lay your sleeve piece over your tracing paper, lining up the upper edges with your traced reference lines (orange). Fold down the front triangle point along the line you traced for the vneck (green area) and add a small triangle at the back edge to fill in the gap (green area).

Lay the Toaster’s cuff piece over the bottom edge of the Toaster’s sleeve, lining up the two pieces to make a smooth cutting line along the side edges of the sleeve. Temporarily tape together.

Alter the Tabor’s neckband (maybe).
I used the wide lapped neckband from the Tabor pattern. In the end, I shortening the neckband by 1in to get my rayon jersey to lay flat. This may not be needed for more stable fabrics. I suggest basting in the neckband and determining if you need to shorten it. I took out the extra length from the center back neckband seam.
Now you can cut out your new lengthened Toaster bodice with a v neckline pattern piece and the back and sleeve pieces if you traced those off.
Sewing overview:
Apply the small piece of interfacing to the bottom of the Vneck and stay stitch according to the Tabor’s pattern/instructions.
Assemble the bodice and sleeves according to the Toaster’s instructions.
Sew and insert the neckband according to the Tabor’s instructions.
Hem your sleeves and bodice according to your liking.
You’re finished with your Toaster Tabor Mashup! I hope you love it. Tag mahlicadesigns on Instagram, so I can see your version.

As always, thanks for reading today.
You can follow me on instagram, Bloglovin, or by entering your email in the right side bar.
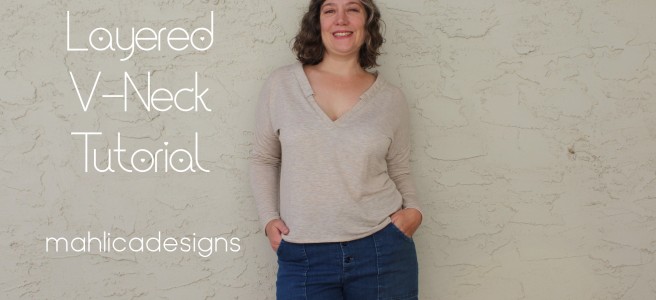
You might like to see my Toaster with Tapirs, Toaster in sweater knit, Tabor vneck, Tabor layered vneck tutorial.


 **As a